How to Bake a Layer Cake
Whether you want to learn how to bake a layer cake for your best friend’s birthday party or crave a slice of cake, you can make a fantastic dessert. Feel free to cancel that trip to the grocery store. From effective techniques to the final coat of frosting, learn the foundations for making a perfect layer cake.

Best Tips On How To Bake A Layer Cake
Even a skilled baker can benefit from tips on how to bake a layer cake. People love to serve cakes at birthdays, graduation parties, and all the other festivities in between. With rich flavors and incredible texture, it’s no secret that celebration cakes are beloved by many.
Preparation is an essential part of baking layer cakes. You can easily miss an important step while making the batter. Don’t rush through the process! When you take the time to read through the cake recipe, you can ensure that everything will go as planned.
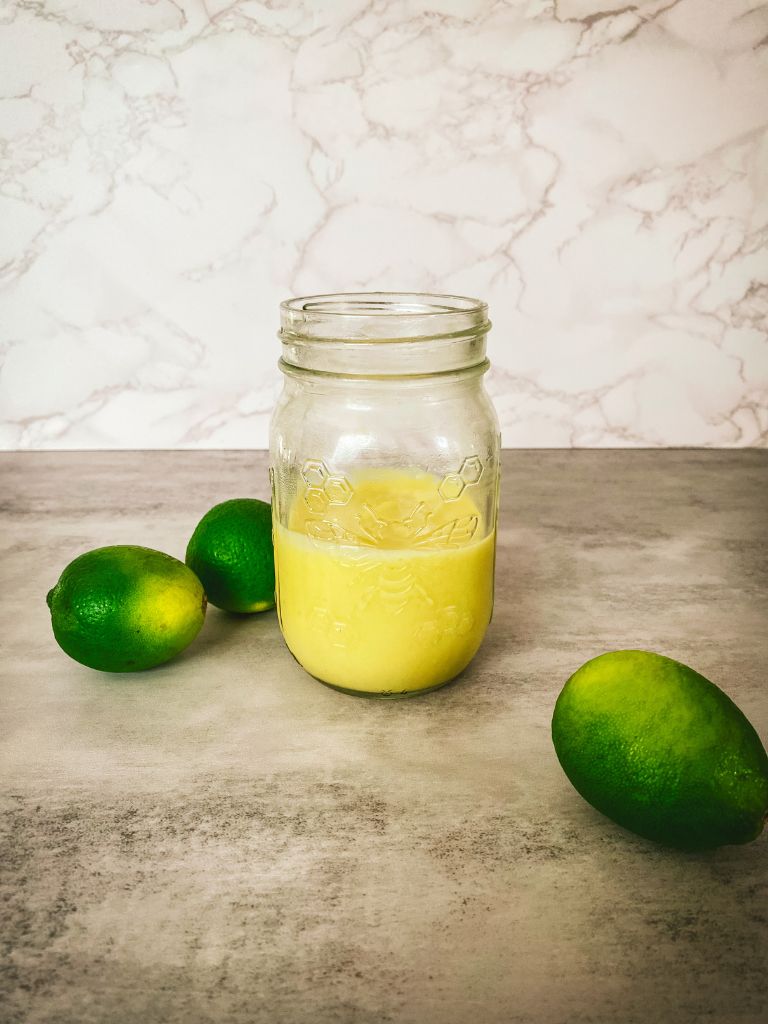
I recommend organizing your ingredients and materials first. Doing so will help you avoid common mistakes when baking a layer cake. Implementing these simple steps makes all the difference.
A flavorful layer cake needs a complimentary frosting. The right pairing bakes up a delicious cake. Most cake recipes include directions for making the cake layers and frosting, which is super convenient. To learn how to choose the best cake recipe, check out this guide on how to keep your cake moist.
Once you find the perfect recipe, look for the recommended baking pan in the instructions. There’s nothing worse than finding amazing cake recipes and realizing you don’t have the required cake pan.
Before you get started, go through the ingredients list. This will help you make a grocery list of missing ingredients.
How To Bake Even Cake Layers
First, if you want to learn how to bake a layer cake successfully, remember to prepare the cake pans. Skipping this step can cause the cake to stick to the pan. This step can make or break your layer cake.
To do this, you need a few sheets of parchment paper. Place your cake pan on top. Trace around the pan with a pencil and cut out the circles. Spray your cake pans with cooking spray. Alternatively, you can buy pre-cut parchment rounds. If you buy parchment paper rounds instead, it should fit the size of your cake pans.
Next, place your parchment paper circles inside the pan. You can lightly spray a little non-stick spray on top of the parchment paper if you prefer.
For larger cakes (10 inches or more), cake strips can be helpful. Cake strips are fabric strips that wrap around the outside of the cake pan. These strips will give you flat cake layers. It’s best to start with a two-layer cake if you’re unfamiliar with making layer cakes. When you get more comfortable assembling and frosting a layer cake, try making a cake with three layers.
Aside from preparing the pan, the dry ingredients should be mixed into the batter until combined. Overmixing can cause excessive gluten development, which leads to a chewy texture. Dairy should be at room temperature.
Once you’ve prepared the round cake pans, pour the cake batter into the pans. Weigh each cake pan with a kitchen scale to ensure each pan is the same weight. If you don’t have a scale, use a liquid measuring cup instead. Add 1 cup of batter into each pan, then repeat. It will take longer, but it ensures that each layer is even.
Bake The Cakes
Cake pan positioning has a significant impact on the rise of the cake. However, sometimes this gets overlooked. I highly recommend following this tip. Ovens tend to have hot spots that can cause uneven baking. To avoid burning or raw batter – alternate the cake pan positions halfway through the baking time.
For example, if it takes 22 minutes to finish baking cake layers, switch the cake pan positions at the 11-minute mark. Take the Cake from the top rack, then put it on the bottom. Next, take the cake from the bottom rack, and then place it on the top.
I bake two cake layers at a time. I place the cake pans in the oven diagonally. It promotes even heat circulation. Ultimately, this prevents too much heat from concentrating in one area. For best results, switch the cake pan positions to ensure each cake layer is completely baked.
When baking a three-layer cake, I bake two cake layers first. Once those two layers have finished baking, I bake the final layer.

Learn how to get consistent results when dealing with inconsistent oven temperatures.
Tips For Success
Use an oven thermometer if possible. The oven’s thermostat may not be accurate. Opening and closing the oven door causes fluctuations in temperature. An oven thermometer will measure the proper temperature. Most importantly, rely on an oven thermometer if food is often undercooked or overcooked.
In addition, if you accidentally turn off the oven, an oven thermometer is the best tool to have on hand. This baking tool prevents you from putting a cake in the oven when the temperature has decreased.
Now, you don’t have to worry about a cake baking at 325°F when it needs to bake at 350°F. Overall, this is the perfect baking tool to ensure the oven’s temperature is accurate.
How To Level A Cake Layer
Once your cake layers finish baking, let the cakes rest. After a few hours, wrap the cakes in plastic wrap and let them chill in the freezer overnight. Frosting a cake when it’s still warm leads to melted frosting. Freezing the cake layers locks in moisture and increases stability. This makes it easier to frost the cake layers and decorate.
I try to bake layer cakes when I have enough space inside my freezer. Though, sometimes my freezer is full. When this happens, I have to rearrange my freezer. It may be an inconvenience, but sweet, delicious cake is well worth it.
To successfully stack the cake layers you need a method that works. More often than not, round cakes come out of the oven with a domed top. Because of this, we need to level the cake layers. This means that the domed portion gets trimmed off. As a result, this provides a smooth surface for frosting.
To level the cake, use a serrated knife to cut across the top of the layer to make it flat. If the cake layers come out of the oven flat, leveling the cake is unnecessary.
Mistakes To Avoid:
Sometimes cake layers break during the leveling process. It may be tempting to “glue” the broken pieces back together with frosting. However, this will ruin the foundation of the cake. Instead, save the broken layer to make cake pops or crumble it into a bowl of ice cream. Once the layers are stacked you can move on to the final step.
Frost And Layer The Cakes
Next, you should have a few cake-decorating tools on hand. An offset spatula or icing spatula is what I use to frost each layer. To start, put a dab of frosting onto the center of the cake board. I prefer to use 10-inch cake boards. Since the cakes I bake are either an 8 or 9-inch round cake, a 10-inch cake board is best. I recommend using a cake board that’s an inch larger than the size of the cake. However, if you prefer to use a cake board that’s the same size as the cake, use a cake lifter for easy transfer.
Then spread the frosting over each layer with a large icing spatula. After each layer is stacked, apply a thin layer of frosting over the cake and put it in the fridge for 20 minutes. This is called a crumb coat.
After removing the cake from the refrigerator, apply the remaining frosting. My favorite way to do this is to use my silicon spatula to add a dollop of frosting to the cake. I smooth the frosting over the entire cake with an icing spatula. Then I use my bench scraper to smooth it out one last time.
There may be wholes of frosting on the sides of the cake. This is normal. Add more frosting to those areas and smooth it out with a bench scraper or icing comb.
At this point, you can keep the cake as is or decorate it further. If you plan on decorating the cake, you may need a piping bag, decorating tips, sprinkles, etc. The products used to decorate the cake are a matter of preference. So, make sure you have fun and add your spin to make a beautiful layer cake!